Pick bearings from a random bin and place them with orientation: step by step guide
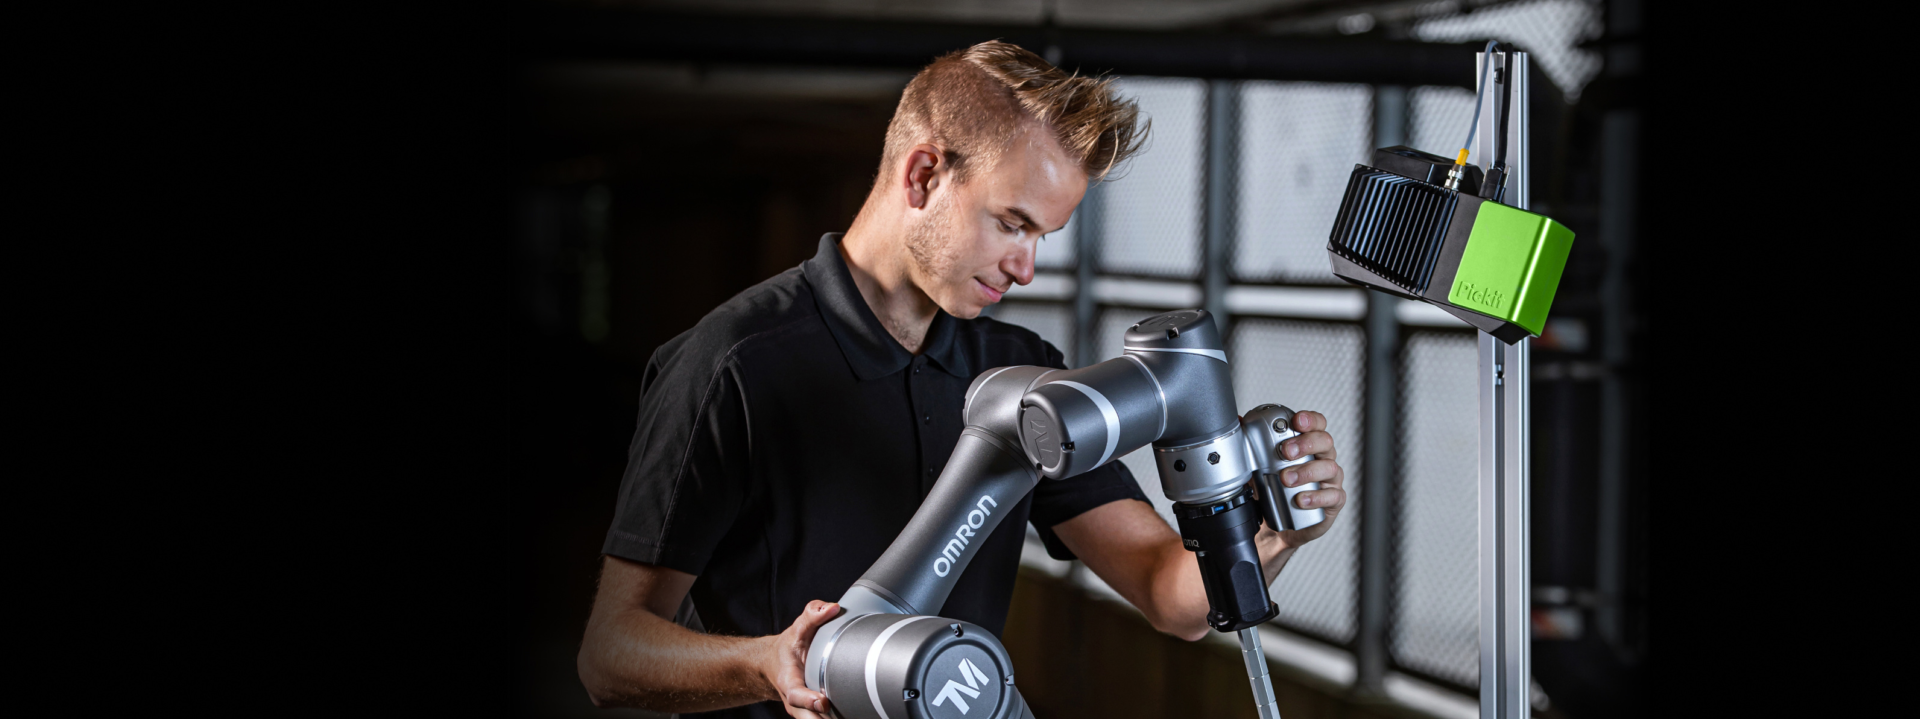
Let's talk about typical applications that the Pickit vision system can solve, including picking ring-shaped objects. We will use bearings as an example to show you how easy it is to solve such an application!
In the video, we will be picking bearings from a random bin, and placing them with orientation. What does this mean? We want to place them one by one in a straight line with correct alignment.
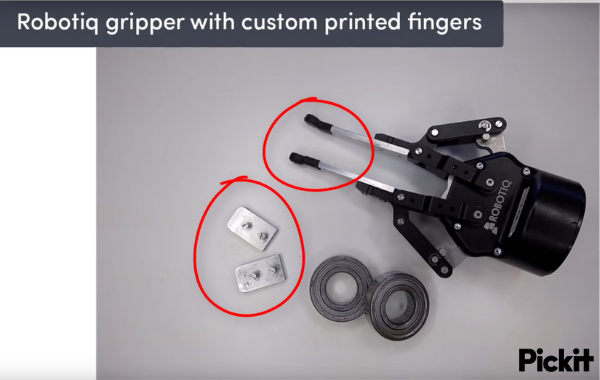
0. Preparation: fine-tune gripper
Evaluate your picking constraints before setting up your application. Which type of gripper and tooling will work best with this shape? In this application, we decided to enhance Robotiq's two-finger gripper with longer fingers, and 3D printed fingertips to allow for a better grip.
Side note: Different sides from your part could ask for different actions from your gripper. Maybe the top side has a hole where you can enter with a gripper and open the fingers. While the bottom has an extrusion where you grasp the part when closing the same fingers.
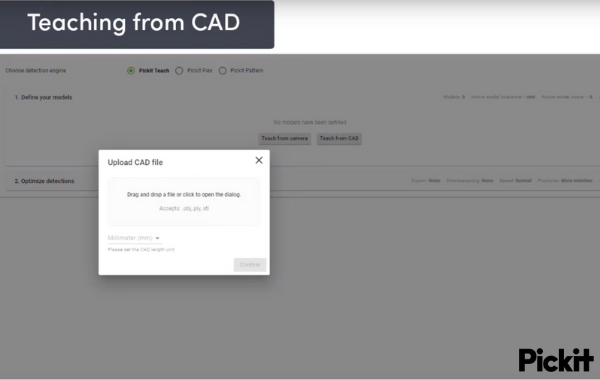
1. Teach from CAD
You can use “Teach” to teach an object with the camera or from a CAD model. You can upload a CAD file with a simple click, or by dragging it into your browser. This step will take you less than 1 minute.
2. Define where the robot can pick the part
We want to pick from the center of these bearings. Since it is a circular-shaped object, we can give the tool (and the pick point) 360° rotational freedom (blue zone in the image below). Our gripper design also allows for some tilting. The rotation and tilting around a point is what we call flexible pick points (green zone in the image below). By adding flexibility in the pick points, Pickit can find the best pick point in this zone for the robot to reach/pick the part.
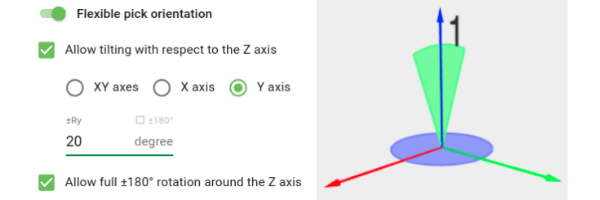
For bearings, setting up two flexible pick points should take around 5 minutes or less.
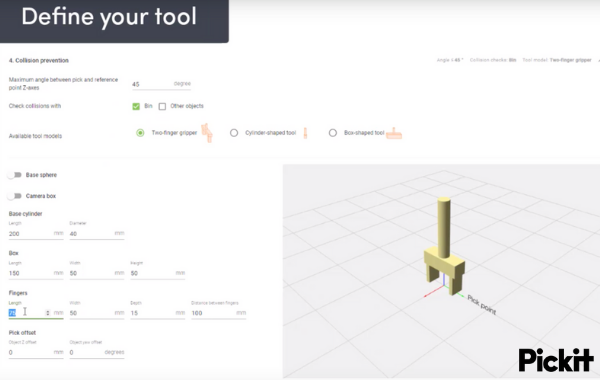
3. Model your tool for collision checks
Another useful feature of Pickit is the ability to check for collisions with the bin and other objects. To do this we need to build a model of our tool in the Pickit interface. We start by selecting one of the templates provided. In this case, we select a two-finger gripper template. From there we measure our real gripper and adjust the height and thickness of our model to match the gripper’s dimensions.
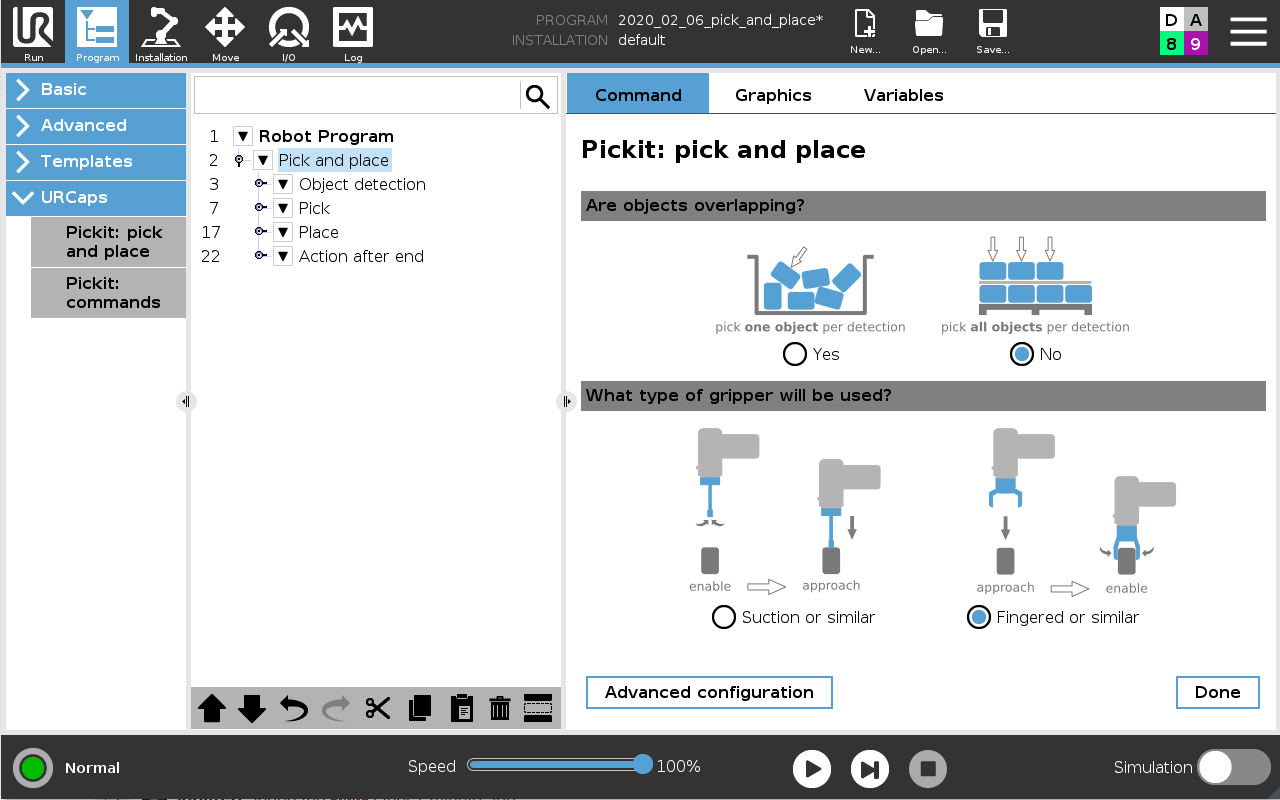
4. Make a robot program with the Pick and Place template
Next, we open a new robot program and load our pick and place template. All we need to do now is select how we want to pick and the Pickit template will do the rest. In this case, for a Universal Robot, this step will take you less than 10 minutes.
5. Check the results
All we need to do now is make sure that the system is running by looking at the 3D view of Pickit when the robot is picking the objects. 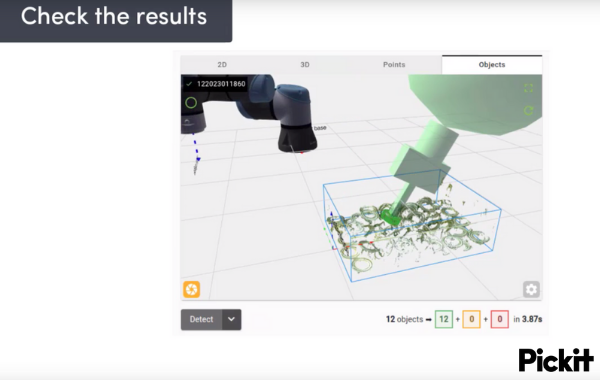
After spending 20 minutes and some preparation time on the gripper design, we are ready to go ahead and empty the bin!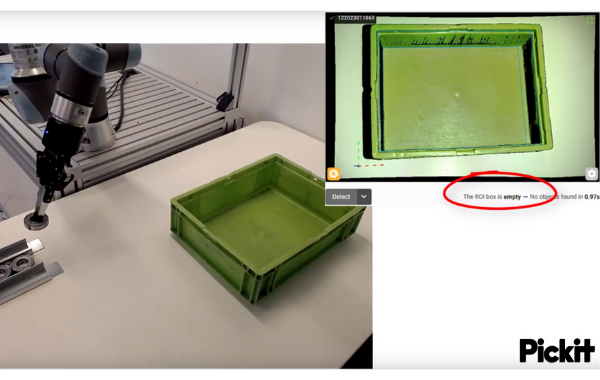
Time to discover 3D vision for robotic pick and place applications!
Do you want to learn more about bin picking? Subscribe to Bin Picking Academy – our newsletter that features latest application videos, how-to guides, and useful tips.
{{cta('5a1ab1fe-8798-4c81-93ad-a480e22bb971')}}